Table of Contents
In this article, I'll guide you through the La Paina Dungeon in Very Hard Mode. Let's start by discussing the enemies you'll encounter in this dungeon.
Enemies:
| Image | Name | Notes | Weakness | Resistance | Sigils |
 | Dorky Face | Immunities: Stun Inflicts PATK Down and MATK Down with Weary Breath. | Wind | Ice | None |
 | Doltish Face | Immunities: Stun Inflicts MDEF Down with Dispiriting Breath. | Wind | Ice | None |
 | Wiggly Hopper | Immunities: None Uses Scavenge to unleash abilities based on what it consumes. | Wind | Ice | None |
 | Airbuster Prototype | Immunities: Poison / Darkness / Silence / Stun / Fatigue / Fog / ATK Down / DEF Down / MATK Down / MDEF Down Inflicts DEF Down to all targets with EM Field. Tankbuster's potency is based on the time it takes to interrupt the stream phase. | Lightning, Wind | Fire, Earth | |
 | Mole Crawler | Immunities: Poison / Darkness / Silence / Stun / Fatigue /? Fog / PATK Down/PDEF Down / MATK Down / MDEF Down Inflicts MDEF Down with Tear Gas Bomb, and subsequently uses the fire-element magic attack Blazing Ray. Magic attacks are effective against this enemy. | Lightning, Earth | Wind | None |
 | Scorpion Sentinel | Immunities: Poison / Darkness / Silence / Fatigue / Fog Uses the powerful magic attack Tail Laser. Also uses a wide variety of stream phase skills, such as Counter Mode to unleash counterattacks, or Target Scanner to focus attacks on a single target. Quickly destroying sigils is an effective strategy. | Ice, Lightning | Fire | |
 | Zu | Immunities: MDEF Down Uses wind-element physical attacks. Grants self Wind Potency Up and Physical Resistance and inflicts Wind Resistance Down on self with Blusterous Veil. Physical attacks are effective against this enemy. Magic attacks are effective for destroying sigils. | Wind | Earth | |
 | Inferno Lantern | Immunities: Poison / Darkness / Silence/Stun / Fatigue /? Fog Uses many magic attacks. Grants self greater Physical Resistance and Magic Resistance with Fortification. Fortification can be removed by interrupting the enemy or depleting the HP of its summoned allies. Wind-element abilities are effective against its allies. | Wind | Fire | |
 | Dark Army Leader | Immunities: Poison / Darkness / Silence / Stun / E. Sigils Fatigue /? Fog Uses many magic attacks. Calls allies to battle, but after a certain amount of time, absorbs them to grant self Up. Wind-element abilities are effective against its allies. | Wind | Fire |
Team Building Guide:
Since most of the enemies in this dungeon are weak to wind, I recommend bringing Aerith with the Prism Rod and Sephiroth with Dark Heavens as your primary choices. If you don't have these characters, you can opt for your favorite damage dealer and equip them with the Aerora or Aerora Blow materia.


Don't forget to bring a healer along; Aerith can serve this role if needed. For the remaining slots, consider adding a debuffer or another damage dealer to balance your team. Keep in mind that some of the enemies in the dungeon are weak to lightning, so make sure to equip your damage dealer with the appropriate lightning materia for future encounters.
Permanent Rewards:
Blue Crystals 100

Materia Booster (L) x 3

Walkthrough:
From the start of the stage, head north and open the chest in the middle of that area to get 5x Aero and Thunder Cocktails. You might run into some trash mobs: Doltish and Dorky Faces. Hit them with wind attacks to defeat them easily. They will drop 6x Ethers and 3x Wisdom Jellies.
Scorpion Sentinel

Head all the way to the east, then cross the bridge to the west, and head north to open the chest for 3 Special Supplements and 6 Potions. Head west to fight your first symbol enemy, the Scorpion Sentinel. You can ignore the Wiggly Hoppers and go for a fast kill. Hit the boss with lightning attacks. Its defenses can be lowered, so it will drop faster if you have a debuffer. Watch out for its tail laser attack. Remove the magic defense debuff from its target and get ready to heal them after the attack hits.
After defeating it, you'll get to choose among three trance abilities: Lightning and Wind Potency +15%, Healing Potency +40%, and Score Boost +20%/Physical Attack -25%/Magical Attack -25%. I suggest picking the Lightning and Wind Potency. Both abilities are going to be useful in the succeeding fights. If your team is overgeared and overpowered, you might want to pick up the Score Boost.
Airbuster Prototype

Head back south and fight the Airbuster Prototype and two Dorky Faces. Kill the adds first because they will cause too much damage if left alone. The boss will hit the party with an AOE attack called 'EM Field,' so be prepared for it. It lowers the party's defenses. It will then charge up its cannon attack. Destroy the circle and diamond sigils quickly to interrupt the attack. Hit it with summons and limit breaks during the stagger phase. To take it down faster, use the Lightning Breach materia right before the stagger phase to increase lightning damage. It should go down fast if done right. If you don't defeat it, it will charge up its tankbuster attack, a single-target magical damage nuke.
After defeating it, you'll get to choose among three trance abilities: Magical Defense +20%, Lightning Resistance +40%, and Score Boost +10%/Magical Defense -40%. I suggest getting the magical defense boost; it'll help with the final boss.
Mole Crawler

Head south, then west, and then north across the broken bridge; it will collapse as soon as you make it across. Open the chest and pick up 6 Supplements and 3 Hi-Potions. Heal up before the fight, then head north to fight the Mole Crawler. It will have two Wiggly Hoppers with it. Dispatch them first, then focus on the boss. It'll use some physical AOE attacks and then double its firepower. Make sure the party is healed up. It will eventually cool down and lower its magical defense. Hit it with a Lightning Resistance debuff and lightning attacks. Magical damage is better here, but physical can work as well if you don't have a lightning mage. Watch out for its Blazing Ray attack, a single-target magical damage nuke. Buff the magic defense of the targeted unit, and you should be okay.
After defeating it, you'll get to choose among three trance abilities: Wind Potency +10%, Wind Potency +30%/Lightning Potency -30%, and Score Boost +20%/Physical Attack -25%/Magical Attack -25%. I suggest picking the Wind Potency +30% since there won't be any more symbol enemies weak to lightning." Head north a bit to pick up 3 materia boosters (L) from a blue chest.
Zu

Head north a bit and open the chest to get a tent and 2 summon charges. Then, head back south to fight the last symbol enemy before the boss, the Zu. It will have two doltish faces accompanying it. Dispatch them quickly with wind attacks. The Zu's defense can be debuffed for this if you have a debuffer. It'll buff its wind resist during the fight, so take note of that. It'll also hit the party with an AoE wind attack. Be prepared to heal afterward. It will then charge up 'Great Gale.' Interrupt it by breaking the circle and triangle sigils. Hit it with summons and limit breaks when it is interrupted. It should go down fast, thanks to the wind potency trance boost we got earlier.
After defeating it, you'll get to choose among three trance abilities: Healing Potency +30%/MDEF Up Duration +10s, MDEF Up Duration +30s, and Score Boost +10%/Healing Potency -30%. I suggest getting the score boost if your healer has healing potency capped. If not, pick the healing potency boost.
Dark Army Leader

Now it's time to fight the boss. You have two options: the Dark Army Leader or the Inferno Lantern. To achieve a much higher score, I suggest fighting the Dark Army Leader. Head north again until you get to the red symbol tornado thing. You'll pick up a Megalixir from a trash mob fight along the way. Use it to heal up your party. I recommend also using Aero Cocktails on your damage dealers and Wisdom Jellies if you think your party needs more survivability. Also, right before the leader, there is a blue chest containing 100 blue crystals.
The Dark Army Leader will appear alone when you start the fight. Hold off on your attacks because it will summon its minions. Target them first and defeat them; otherwise, the Dark Army Leader will absorb them and buff itself. The minions will get buffed with defense buffs, so remove them by debuffing the buffs. Watch out for Glacial Breath; it's an ice-based AoE attack. Heal up afterward. It will summon another batch of minions. Clear them quickly before attempting to break the sigils for 'Marching Orders.' After the minions are gone, break the circle sigils and interrupt the boss. Hit it with your wind attacks and limit breaks, and it should go down in a few more rounds of damage.
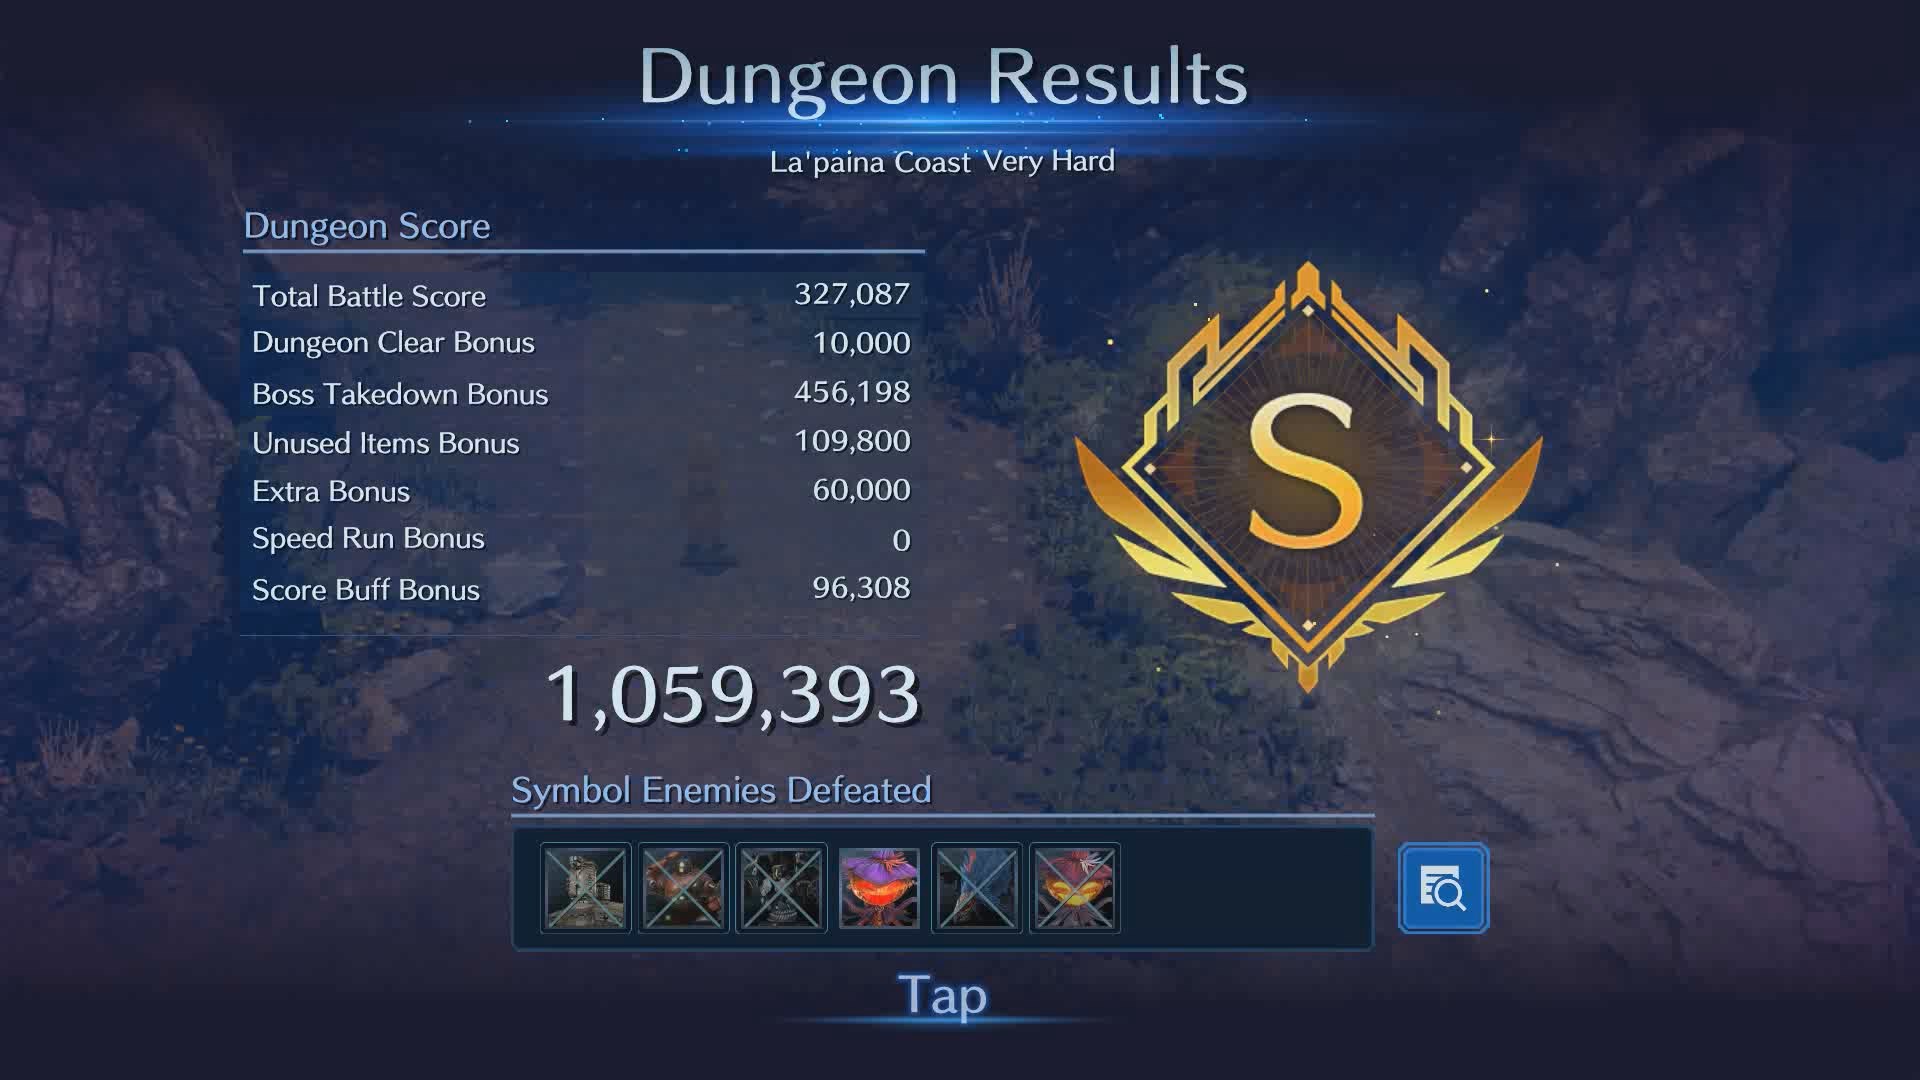
Congratulations on clearing La'Paina Coast Very Hard mode. I hope you found this guide useful.

