Table of Contents
Symbol Enemies:
| Image | Name | Notes | Weakness | Resistance | Sigils |
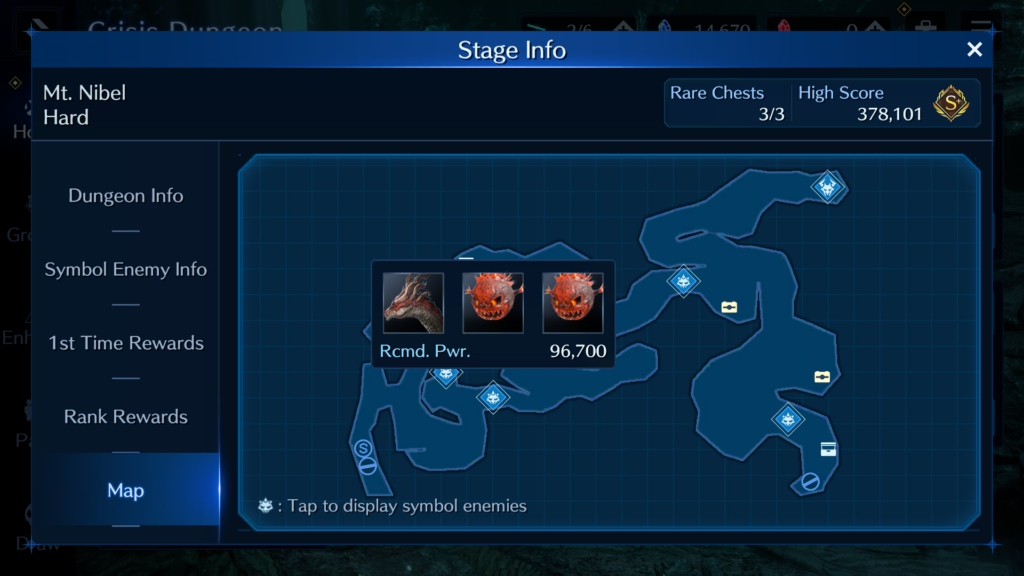
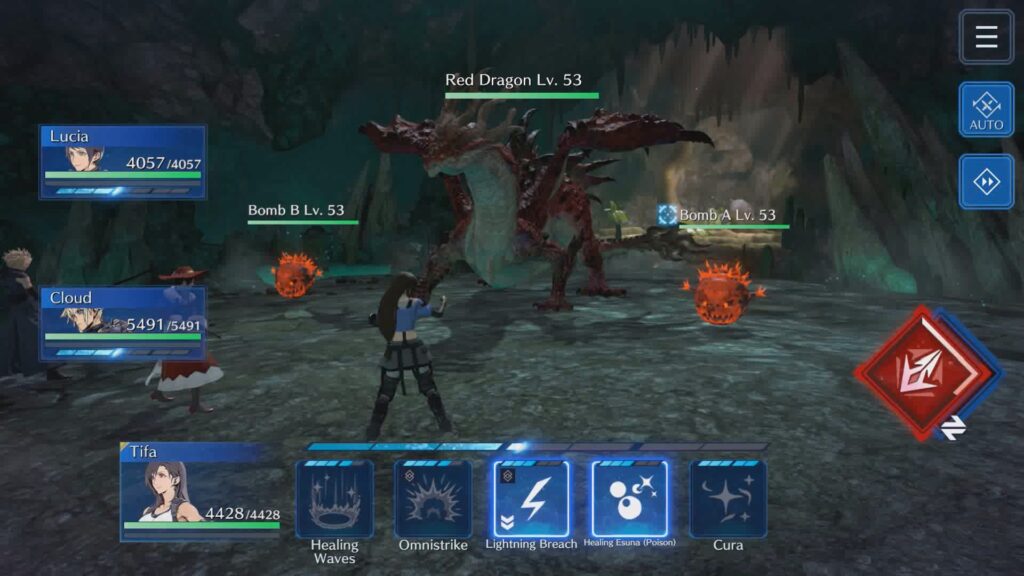
 | Red Dragon | Immunities: Darkness / Silence / Stun / Fog / DEF Down Uses many fire-element magic attacks including Red Dragon Screech. Inflicts fog with Fog Breath. | Ice | Fire | |
 | Blue Dragon | Immunities: Darkness / Silence / Stun / Fog / MDEF Down Uses many ice-element magic attacks including Blue Dragon Screech. Inflicts fog with Fog Breath. | Fire | Ice | |
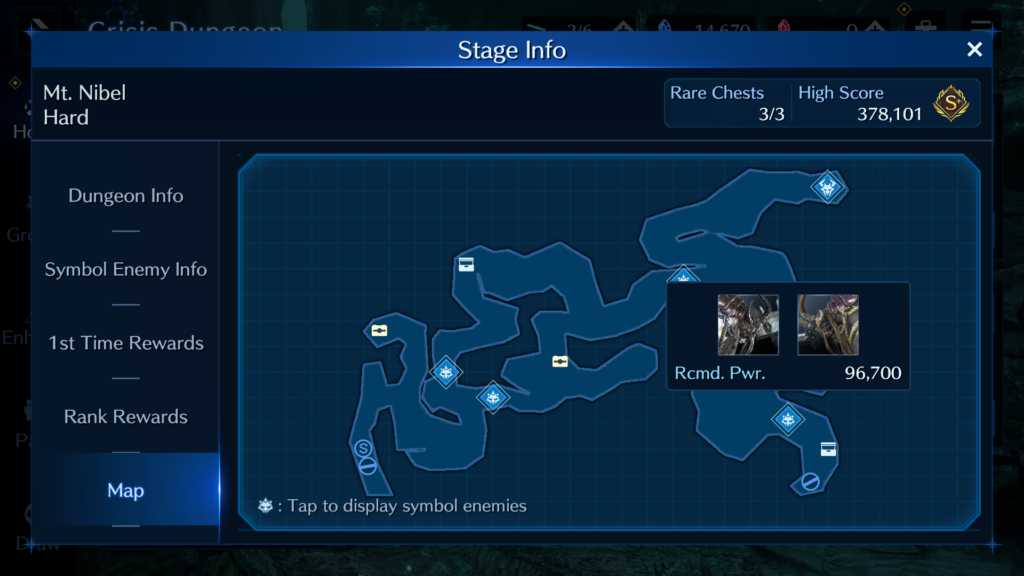
 | Vajradhara Lin | Immunities: Darkness / Stun / ATK Down / DEF Down / MATK Down / MDEF Down Uses many physical attacks. Unleashes a powerful linked attack with Vajradhara Tamb, and afterward grants self Physical Resistance or Magic Resistance. | Earth | Wind | |
 | Vajradhara Tamb | Immunities: Darkness / Stun / ATK Down / DEF Down / MATK Down / MDEF Down Uses many physical attacks. Unleashes a powerful linked attack with Vajradhara Lin, and afterward grants self Physical Resistance or Magic Resistance. | Earth | Wind | |
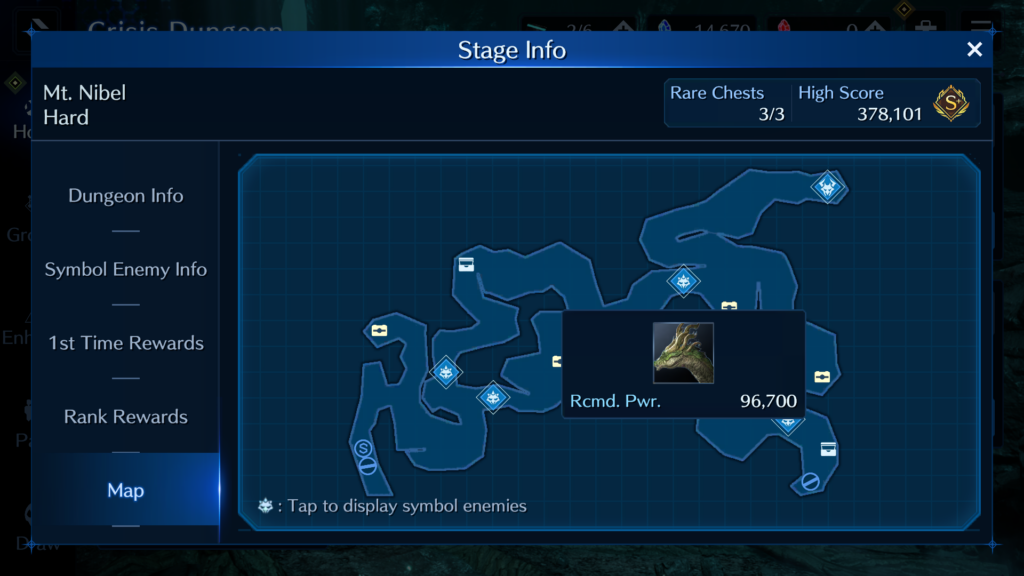
 | Dragon | Immunities: Poison / Darkness / Silence / Stun / ? Fog Uses many physical attacks. Inflicts poison with Poison Breath and Poison Shriek, and PDEF Down with Crushing Bite. | None | None | |
 | Mole Crawler | Immunities: Poison / Darkness / Silence / Stun / Fatigue /? Fog / PATK Down/PDEF Down / MATK Down Inflicts MDEF Down with Tear Gas Bomb, and subsequently uses the fire-element magic attack Blazing Ray. Magic attacks are effective against this enemy. | Earth, Lightning | Wind |
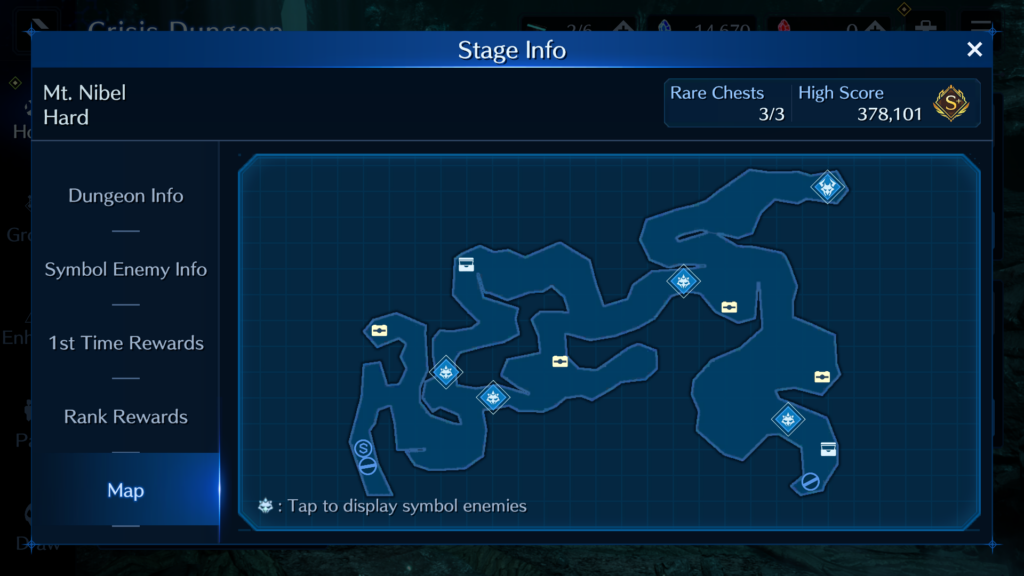
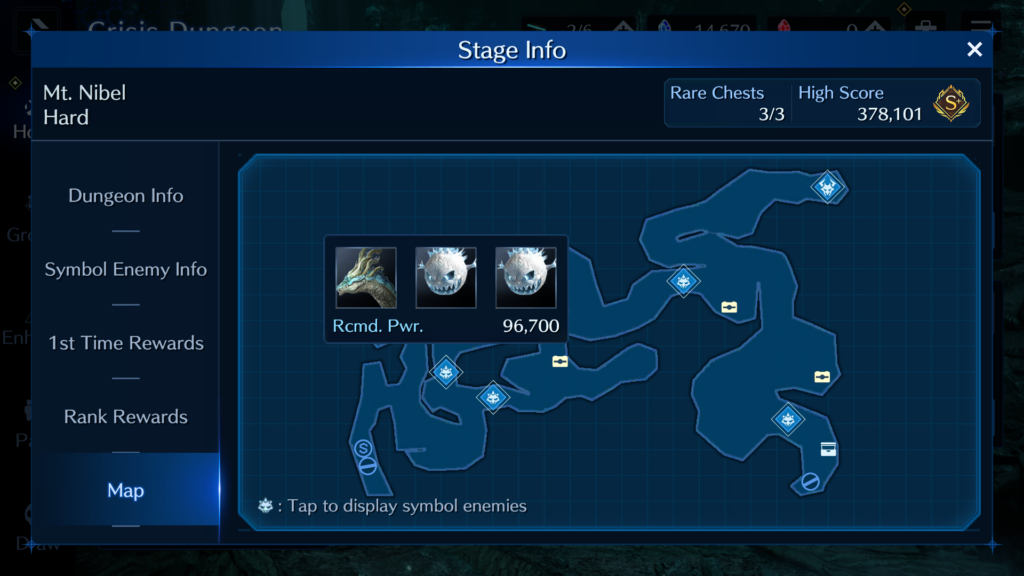
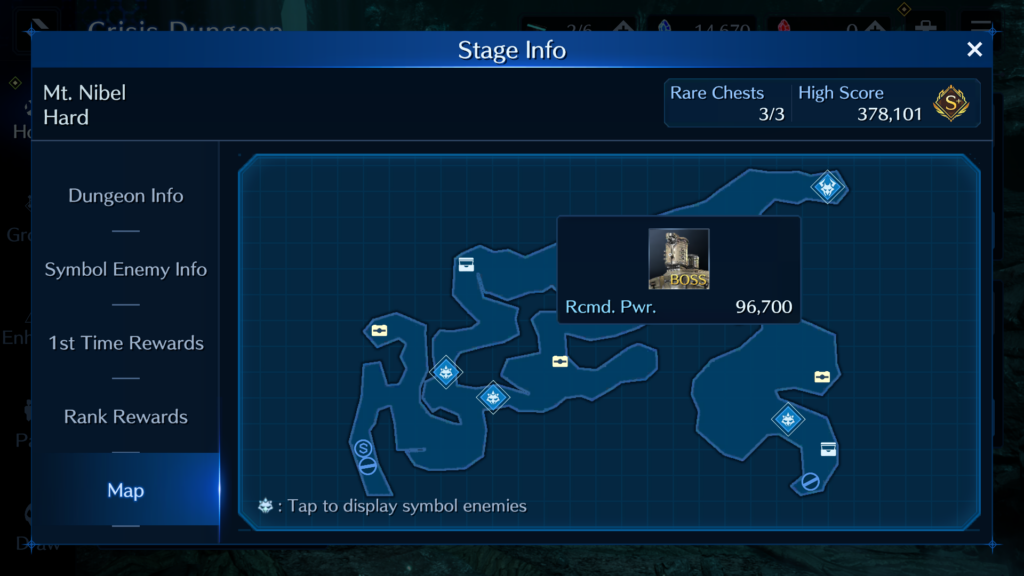
Map:
Team Building Guide:

The Symbol Enemies in this area are primarily susceptible to earth attacks, making it advantageous to include Lucia equipped with her new weapon: the Holiday Revolver. This weapon proves particularly effective against the final boss, which possesses vulnerabilities to both magic and earth. Alternatively, consider including Cloud for lightning damage, although the final boss, while weak to lightning, has higher defense, reducing its effectiveness.
Additionally, ensure you bring an AoE healer such as Aerith, Tifa, or Matt. These characters can also serve as buffers, breakers, or supplementary damage dealers based on your chosen builds. Most importantly, carry Healing (Poison) materia specifically for the Dragon Boss.
Walkthrough:
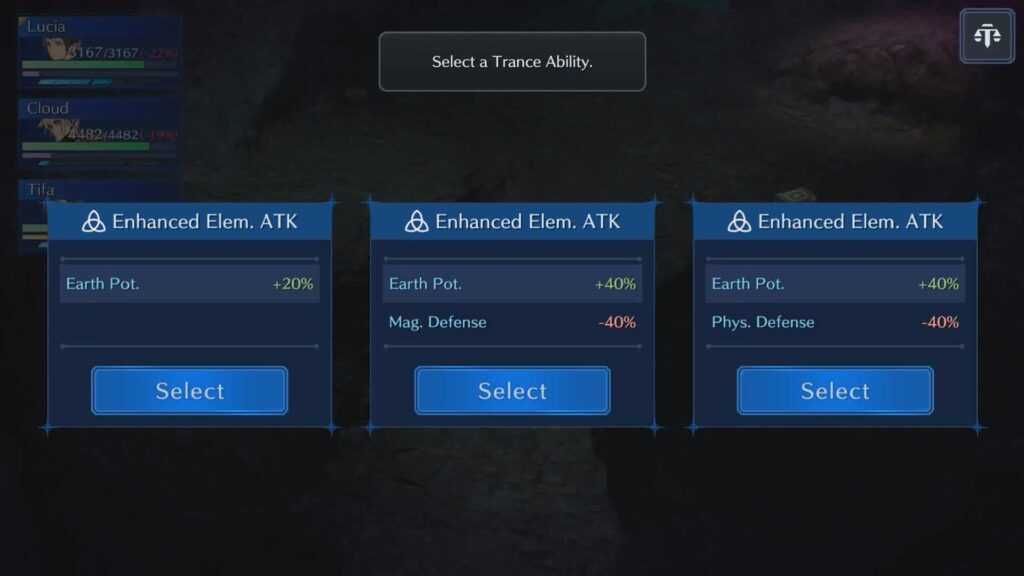
From the start of the stage, head north to collect 5 ethers and 3 supplements. Then, go east and further north to confront either the Blue Dragon or the Red Dragon. The Red Dragon will grant you the following trance abilities:

Meanwhile, the Blue Dragon offers different options:

Red Dragon
I suggest defeating one of them initially and returning for the other later. Our primary focus should be on the Dragon without any weaknesses. It's crucial not to let it become too powerful, so we'll tackle it second.
During your journey, you'll encounter three bombs. Ensure your party's HP remains high as they can easily wipe out your team if not dealt with quickly enough.
If you opt for the Red Dragon first, proceed north to acquire 4 quake cocktails, which will be advantageous against the final boss.
Dragon

Move west, break through the rocks to open a pathway, and head north to face the Dragon. Make sure your party's maximum HP is nearly full; you'll need every bit of HP you can muster. The key to this fight lies in healing the AoE poison caused by its poison shriek attack, which can devastate your party if neglected. Heal promptly and aim to take it down swiftly. Save your summons for when you stagger it; it will employ barriers that can be broken down with triangle and circle sigil attacks. Tifa's limit break can be quite useful here due to the Dragon's debuffable defenses. Once you bring it down, the rest of the enemies should pose less of a challenge.
The dragon will grant you the following trance abilities:
Further north, pick up the chest containing 6 potions. Proceed north, then east, and break more rocks to access a chest containing 1 cottage. You can choose to use it immediately or save it for later.
You'll encounter a pair of Trypapolises here. Be cautious of their AoE attacks. Preserve ATB gauges for your healer to heal when necessary, as this will likely be an extended fight. Utilize this opportunity to charge your limit breaks and maintain your party's health.
Vajradhara Tamb and Lin
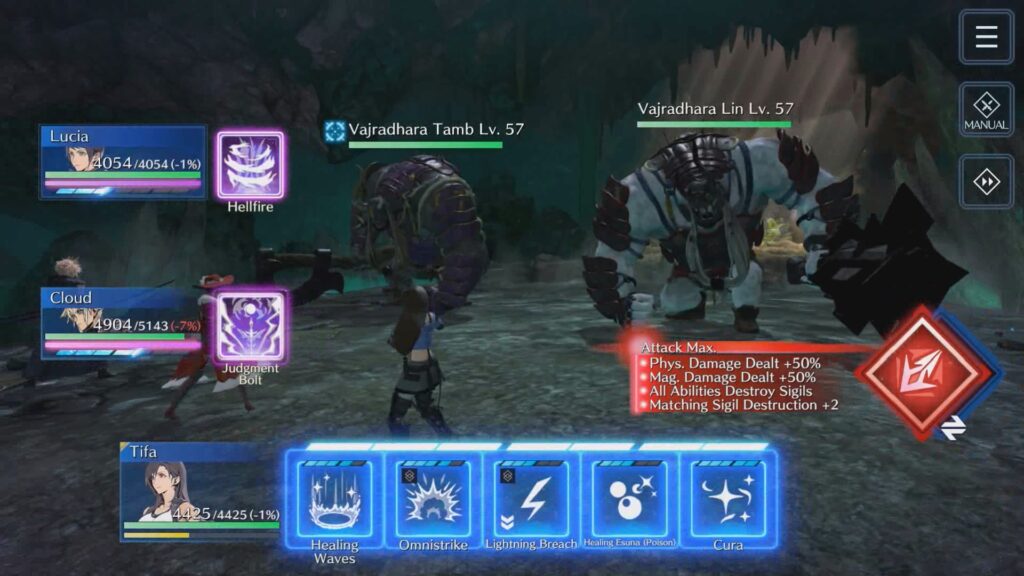
Move north to confront the twins Vajradhara Tamb and Lin. Focus your attacks on one of them at a time since they cannot be debuffed. Employ earth attacks and be wary of their AoE combination attack. Once one falls, the other will self-debuff their defense. Use limit breaks and more earth attacks to expedite their defeat.
The twins will offer the following trance ability options:

Pick up the permanent chest for 5 synth catalyst night pieces.
Blue Dragon
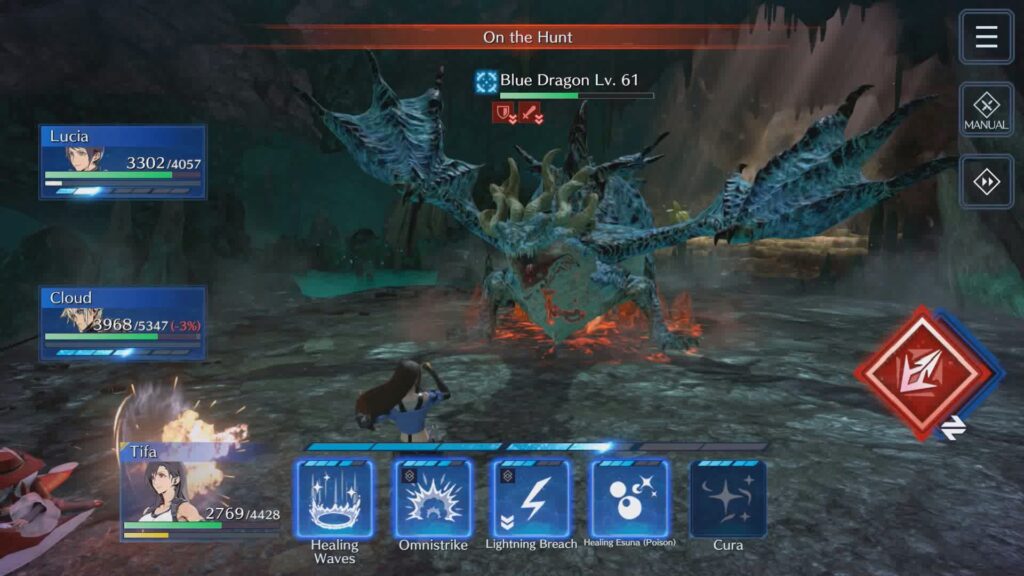
Return to the blue dragon after preparing—top up your HP and have your Ifrit summon ready to avoid dealing with the bombs. This fight should be relatively easy. The blue dragon will present you with the following trance ability choices:
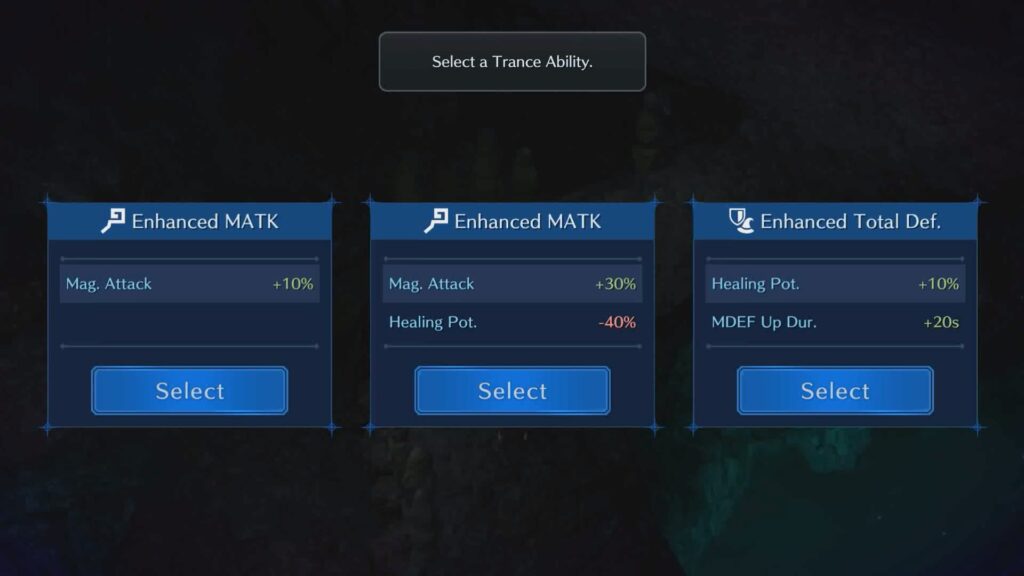
I recommend acquiring the "Magic Attack +30%/Healing Potency -40%" option to bolster your magic damage dealer's ability to inflict more damage on the final boss.
Mole Crawler
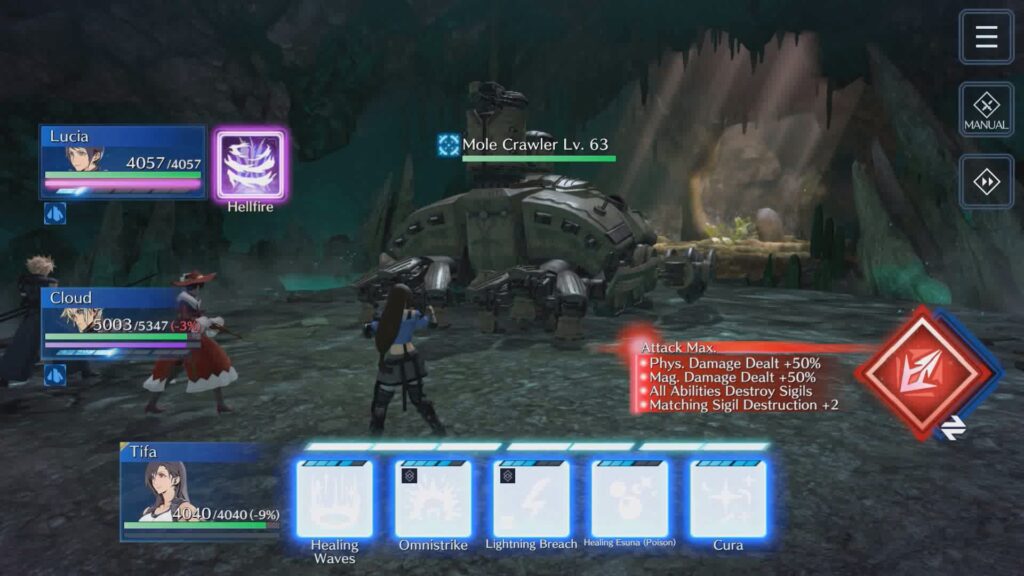
Proceed north and take the west path toward the Mole Crawler. This battle should also be straightforward. Consider using Quake Cocktails on your damage dealers to amplify their earth damage. Ensure your party's HP stays high and watch out for its single-target attack. Use your limit breaks when it self-debuffs its magic defense. If adequately prepared, this fight should be easier than the dragon encounter.
Hopefully, you've achieved an S+ ranking. Stay tuned to Evercrisis.gg for more in-depth guides.